| Reopard | ||
|---|---|---|
Original Rhino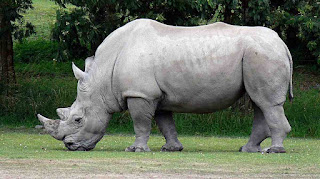 |
Original Leopard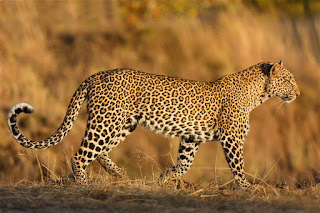 |
 |
| 1: Download a rhino image and a leopard image. 2; Place down the rhino then place the leopard image overtop, you can optionally use 50% opacity to make it easier to see. 3: Add a layer mask to both the images. 4: Go to filter at the top, then liquify while on the Leopard image. 5: Select the Rhino layer, set opacity to 50%, and try to match the leopards body with the rhinos body as best as you can. 6: Remove the leopard's background, and any excess parts that arent on the rhino. 7: Set the leopard layer to Multiply mode. 8: Go to layer at the top of photoshop, click add adjustment layer, and choose brightness and contrast. 9: Set the brightness to 26 and contrast to 0. 10: Use the clone stamp tool and adjust any pieces of the leopard skin that are too strecthed on the rhino. 11: Remove the background of the Rhino image 12: Add a custom background and your blog URL 13: Export as PNG and you are finished. |
||
| Bolphin | ||
Original Dolphin |
Original Banana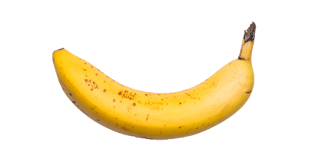 |
 |
| 1: Download Bottlenosed dolphin image and an image of a banana. 2: Lower the opacity of the banana image to 50%, then press "Ctrl-T" and resize the banana to cover the dolphin. 3:Click Filter at the top of photoshop, then click liquify while on the Banana layer. 4: While using the liquify filter, drag the texture of the banana overtop the dolphin. 5: Set the Banana's layer to the "Soft Light' mode 6:Click layer at the top of photoshop, then click new adjustment layer, and click on "Brightness and Contrast" 7: Set the brightness to -14, and contrast to 100 8: Add custom background and blog URL. 9: Export as PNG. |
||
| Stag Giannis | ||
Original Stag |
Original Giannis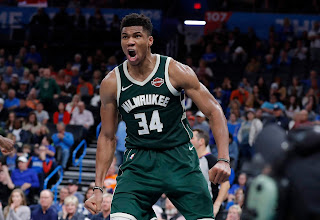 |
 |
| 1: Download an image of a stag and Giannis Antetokounmpo 2: Place down the image of Giannis, then manouver "Ctrl-T" the stag overtop with an opacity of 50%, and line it up to where you think it looks good 3: Click on the stag layer and go to layer > Layer mask at the top of photoshop. 4: Click on the stag layer mask, erase everything, and click on the brush tool "B" and make sure to have white selected as the color. 5: Use the brush tool and draw the stag skin over Giannis' skin. 6: Once the Stag skin is ontop of Giannis' skin, click on the stag layer and set it to the "Hard Light" mode. 7: Add Blog URL and Custom background. 8: Export as PNG. |
||

Wednesday, February 26, 2020
Photoshop - Animal Skin Swap
Subscribe to:
Post Comments (Atom)
No comments:
Post a Comment